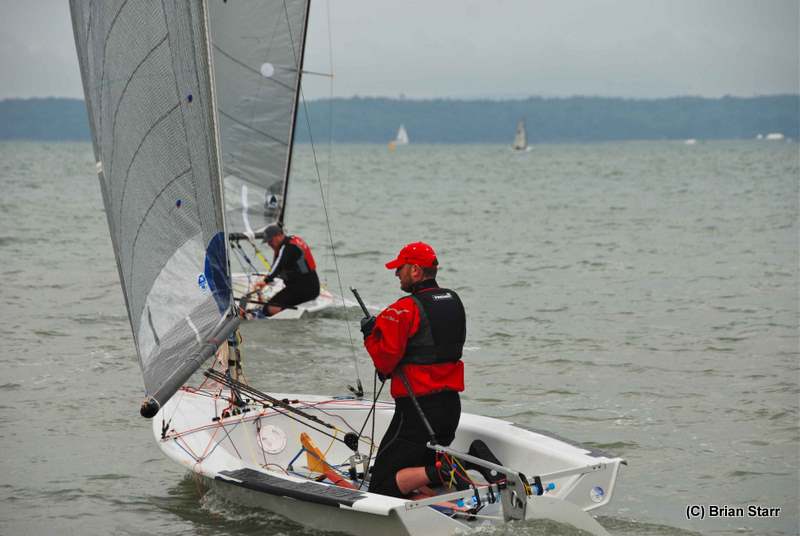
Firstly a big thanks to Phil Worth for providing the photos, shopping list and most of the words for this article.
If you have read the tuning guide you may have seen the need to adjust the rig tension. Virtually all new boats have an adjustable forestay fitted as standard allowing the rig tension to be altered on the race track, however if you have one of the older boats where this is not a standard fitting then it is not possible.
This can be easily overcome by fitting one, but for those that do not have access to another boat with one fitted it may not be obvious. You may think that why a guide, after all there are photos on the "sorting the ropes" pages, but that is a complicated high purchase P&B set up. You can do that by all means but the older boats will not cope with the high tension loads that modern Phantoms can deal with, so there is little point. This guide will show a simple way to rig one of these up with the minimum of parts.
The Forestay Part

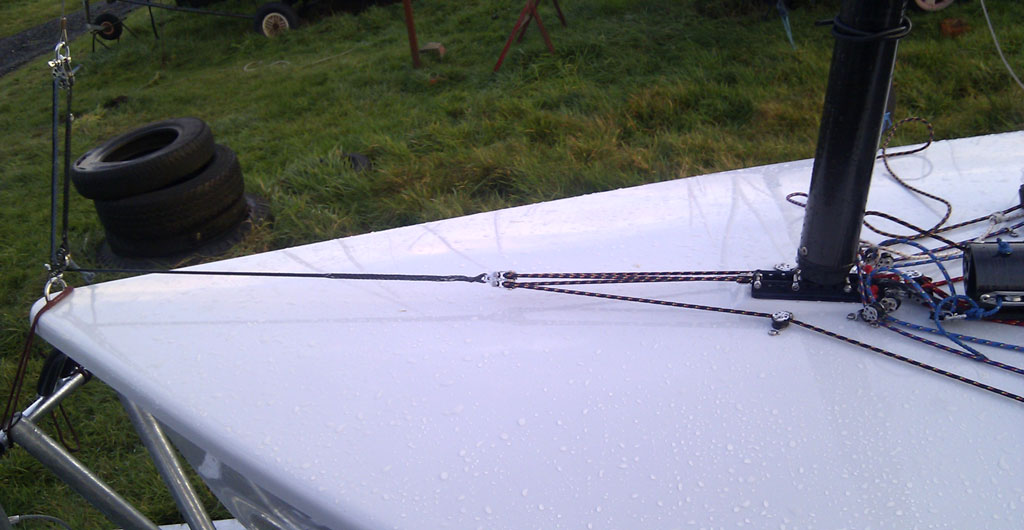
The existing forestay will need shortening if it currently reaches the bow attachment point. To fit the two blocks in as shown will require approximately 200-250mm of shortening. Use high quality ball bearing blocks and a high quality, high strength rope such as Dyneema D12 or Vectran. P&B use steel rope and metal blocks, but it isn't necessary as modern ropes are plenty strong enough. The blue rope is a safety "get you home" accessory. In the event of the rope or blocks giving up for the day then it will stop your mast from falling on your head.
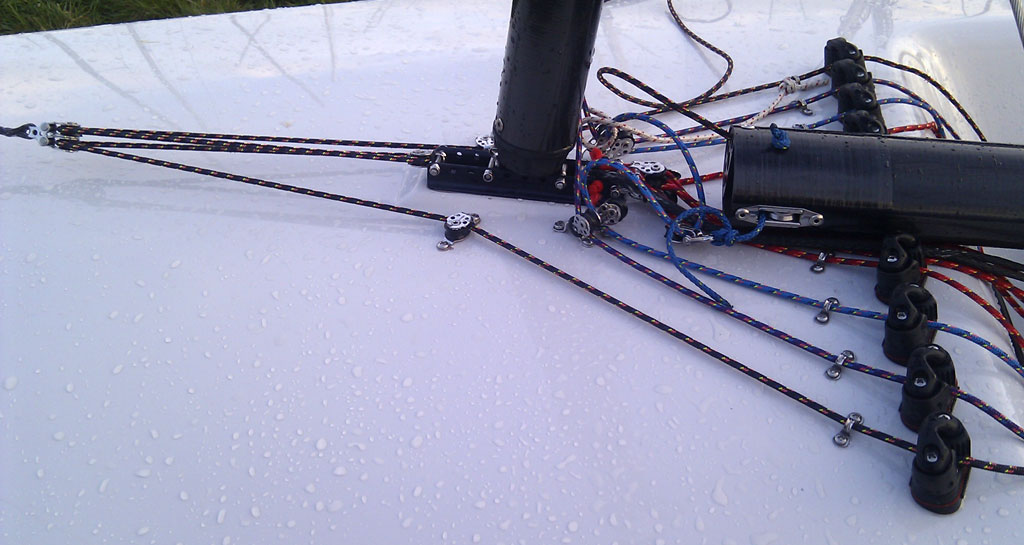
The Turning Blocks
This is where the single led aft rope will split into two to allow easy adjustment from either side of the boat. Why bother? A single cleat inline with the mast will work but does not allow the adjustment that it sometimes required upwind to depower the rig.

Splice or tie if you wish (but make the knot good) onto a double block. Fix two deck cheek blocks close to the mast step - there will be reinforcing in this area on plastic boats but check through the bulkhead hatch (if you have one, if not, why not invent one?) to see if there is sufficient material to strongly fix them. You can see from this photo the layout of the twinned ropes running aft. Note that they are not tied here, either spliced together to create a continuous loop of rope or tied off in the boat somewhere near where you sit out. After the turning blocks route the ropes to the deck cleats as shown below.
Note that there small eyes just forward of the cleats but they are not necessary on cleats that have feeder rings built in. Without them built make sure that you fit them otherwise the ropes will go all over the place if you accidentally let off the tension without controlling it.
The Complete Setup
The following photo shows the completed arrangement as far as the cleats.
Shopping List
2 Small cleats with wedges and fairleads ( Harken shown )
2 fairleads - 19mm centres
2 cheek blocks (Harken shown)
1 single block (Harken shown)
1 double block (Harken shown)
1 single block + 1 single block with becket - high load blocks ( Allen Brothers shown )
2 x 5mm bar shackles (depending on which high load blocks are used on the forestay)
2 Metres Dyneema D12 4mm (5mm shown as wanted black)
5 M Marlow Excel Racing for continuous lines, 300mm for safety line (shown here in blue)
Fixings Used
4 x 50 mm Machine pan heads + locking nuts
8 x 15 mm screws Pan head
1 x 40mm M5 Bolt + lock nut for front of mast foot
Silicone for sealing any holes made
Tools needed
Drill with 4.5mm (for bolts) 2.5 mm drill bits (for screws)
Spanner
screw driver
Fid for splicing dyneema
Tape and marker to accurately position fittings